")
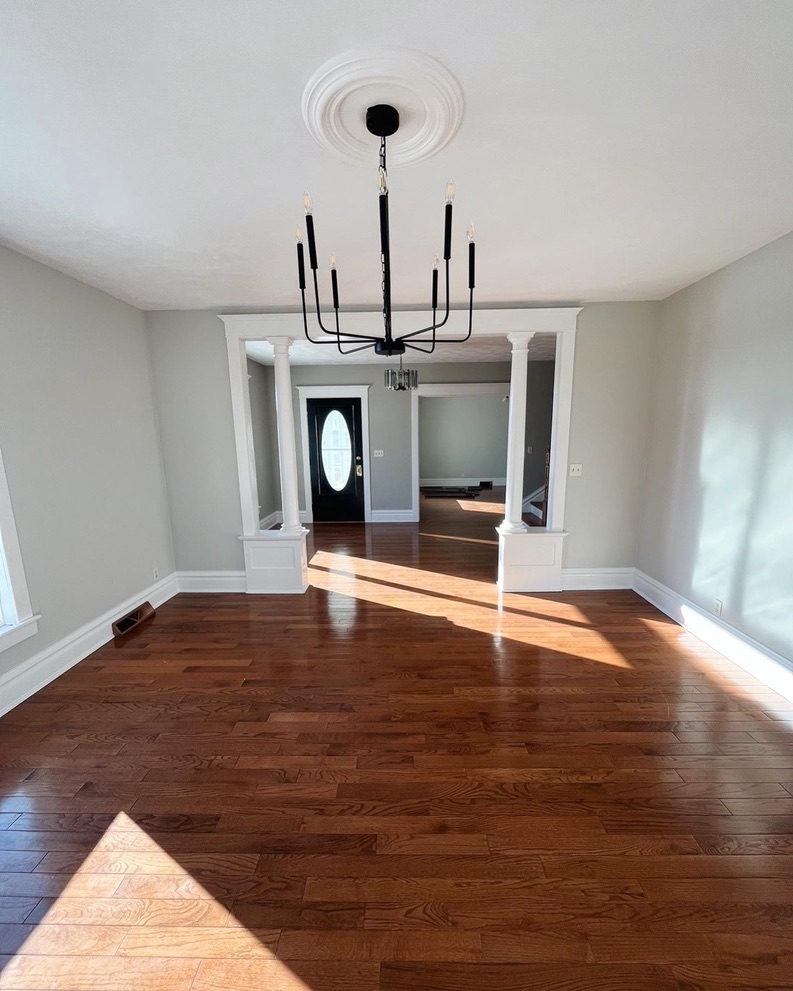
My favorite room in the house. The dining room is our first completed room and one I plan to admire for quite sometime. We do have a few more plans for this room but for now we are going to say she is done. 🙂
Let’s start with the ceiling. The dining room had a gorgeous textured ceiling that looked like meringue. Unfortunately, meringue isn’t my favorite. So we decided to scrape..
Scraping a ceiling is as miserable as it sounds but thankfully I have a terrific husband and hardworking father-in-law that took that job off my hands. After the scraping came the drywall sander which created a nice desert inside our home. 🙂 No, but really I have never seen so much dust in my life — it was wild.
After we finished sweeping and dusting a million times we were able to paint.
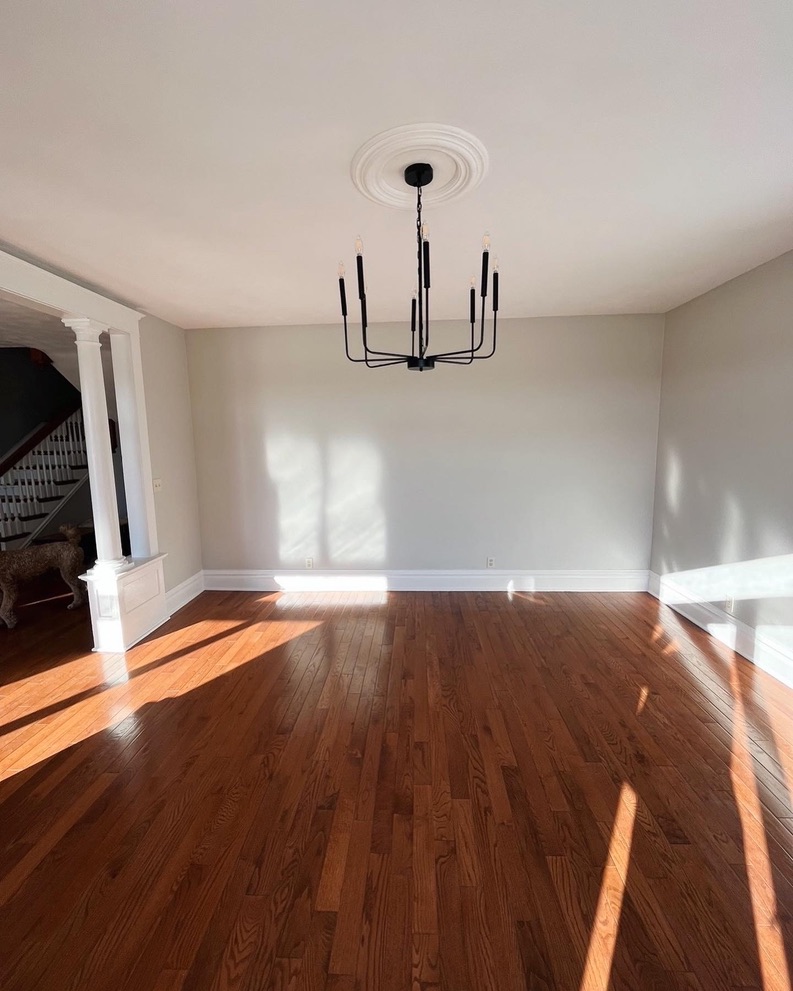
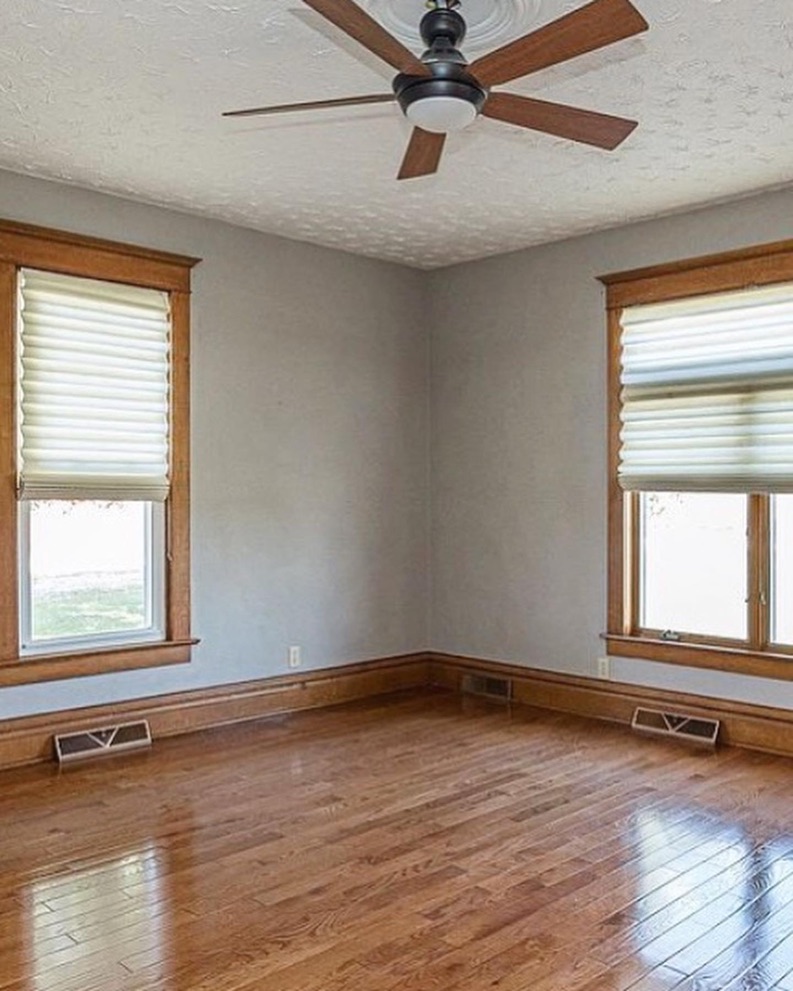
We painted the ceiling with this bad boy. This paint actually goes on pink so you can see what parts you have finished – it’s so cool!! As you can see in this picture, we also changed the light. This room initially had a ceiling fan that was actually super nice! It just wasn’t the vibe we were going for. We found this light on Amazon, here is the link. Yes, the new light is beautiful but oh man it was a bear to put together. Warning – you will need to wire each arm separately but hey if you are a patient person you will have no issues. 😉
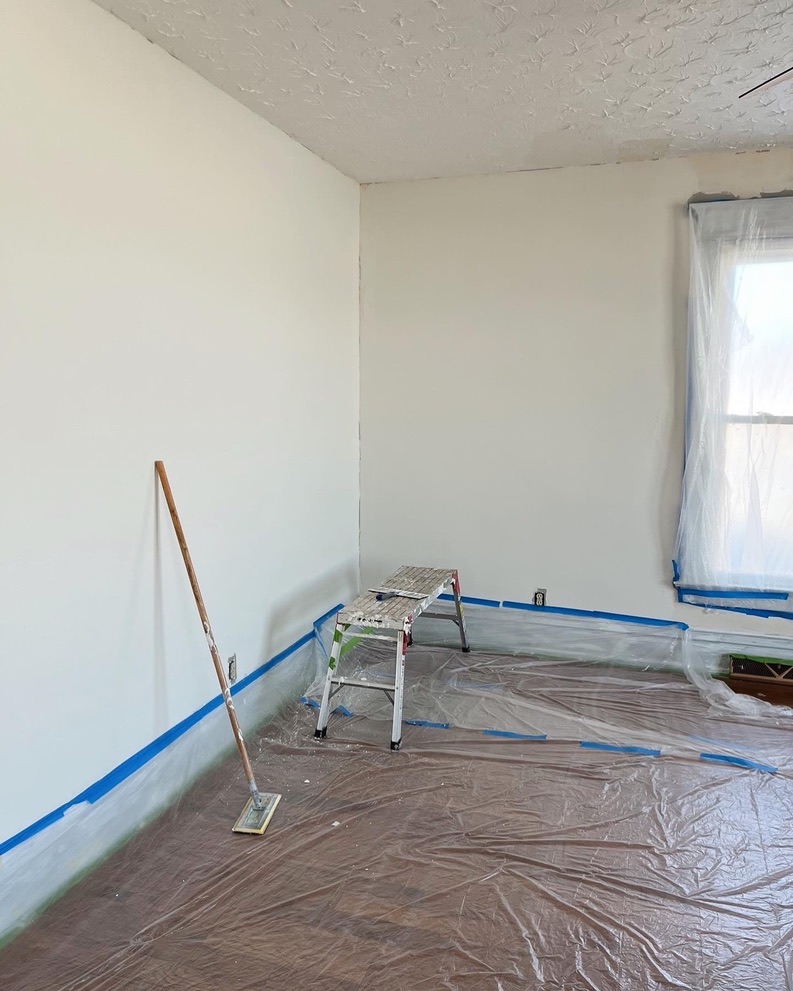
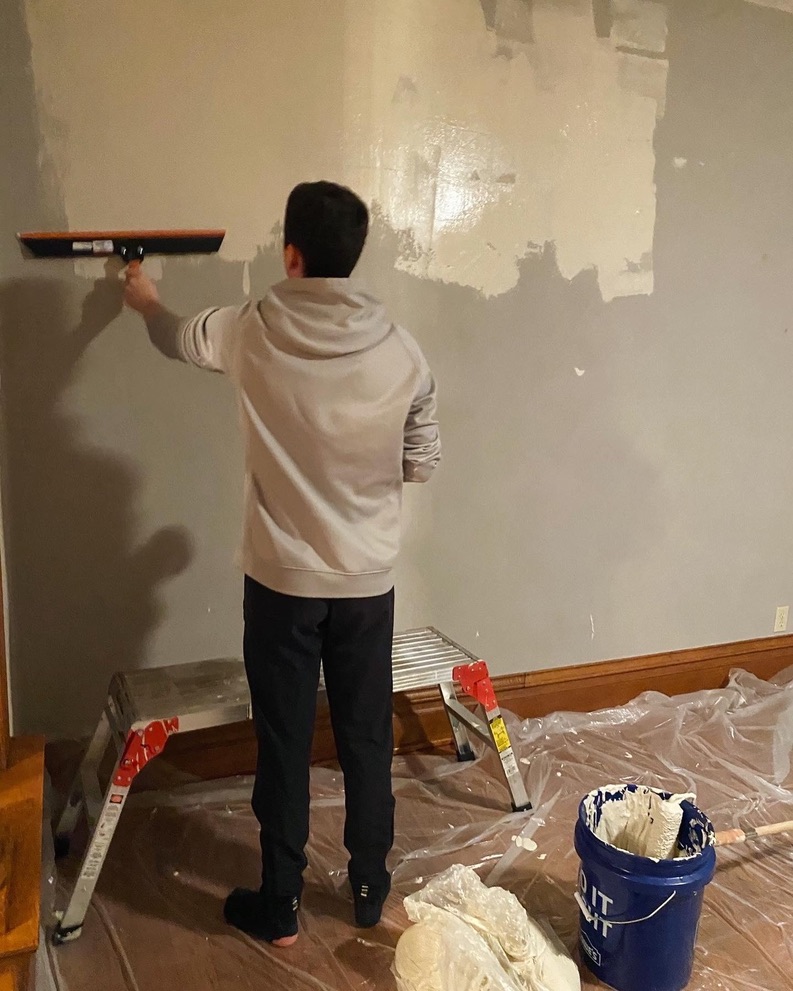
We were also blessed with textured walls in this room so Trevor took his Youtube degree to the next level and got to work. He skim coated this entire room and then took the dry wall sander to it. Yep, another dust storm but oh my do these walls look nice.

Once the walls were ready to be painted we primed first. We LOVE this one. Also bigger the better, right?! We have almost gone through 2 five gallon buckets.
We decided to go with Sherwin-Williams for our paint colors because 1) I love them all 2) I feel like many of my favorite diy-ers choose Sherwin-Williams as well. For this room we chose Agreeable Grey in an Eggshell Finish – Valspar Signature. Agreeable Grey was our color of choice because it’s not too cold or too warm, super descriptive I know. We tried Anew Grey in this room as well but we didn’t love how it looked so we went with the lighter option.

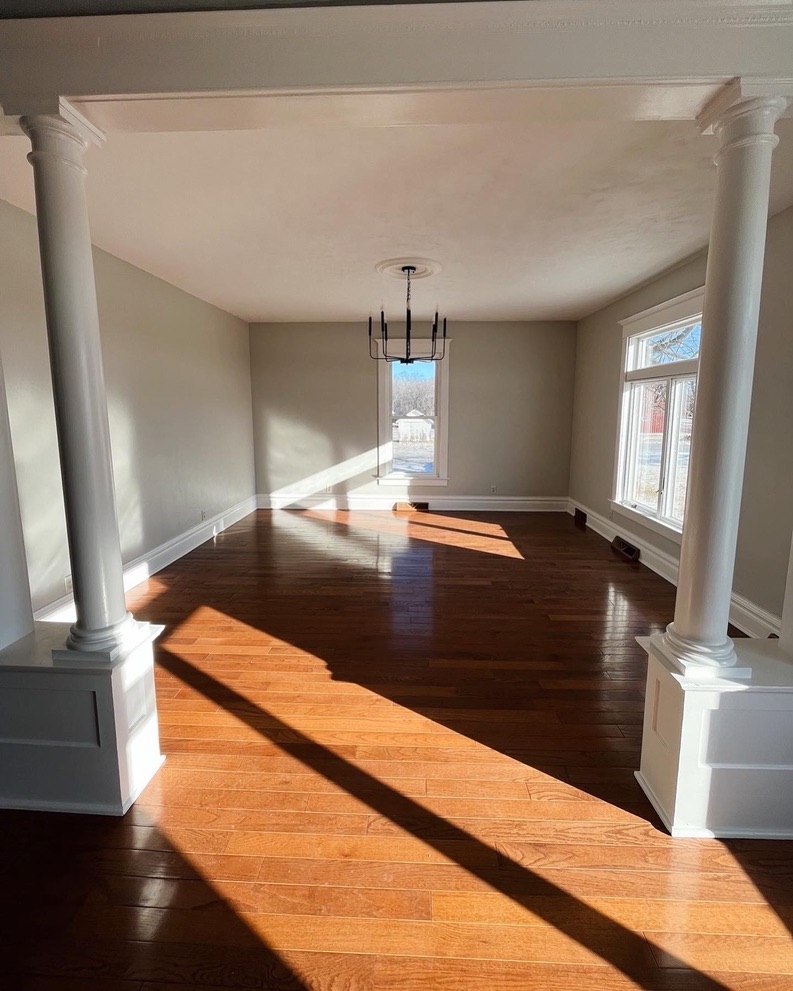
Lastly, the trim. Both the baseboards and window trim were in pretty good shape. However, the wood really soaked up the paint. In order to limit the amount of coats, I suggest double priming. We used the same primer on both the walls and the wood. After we primed, we sanded problem areas and then moved onto a top coat of Sherwin-Williams Snowbound – we used this brand in a semi-gloss finish.
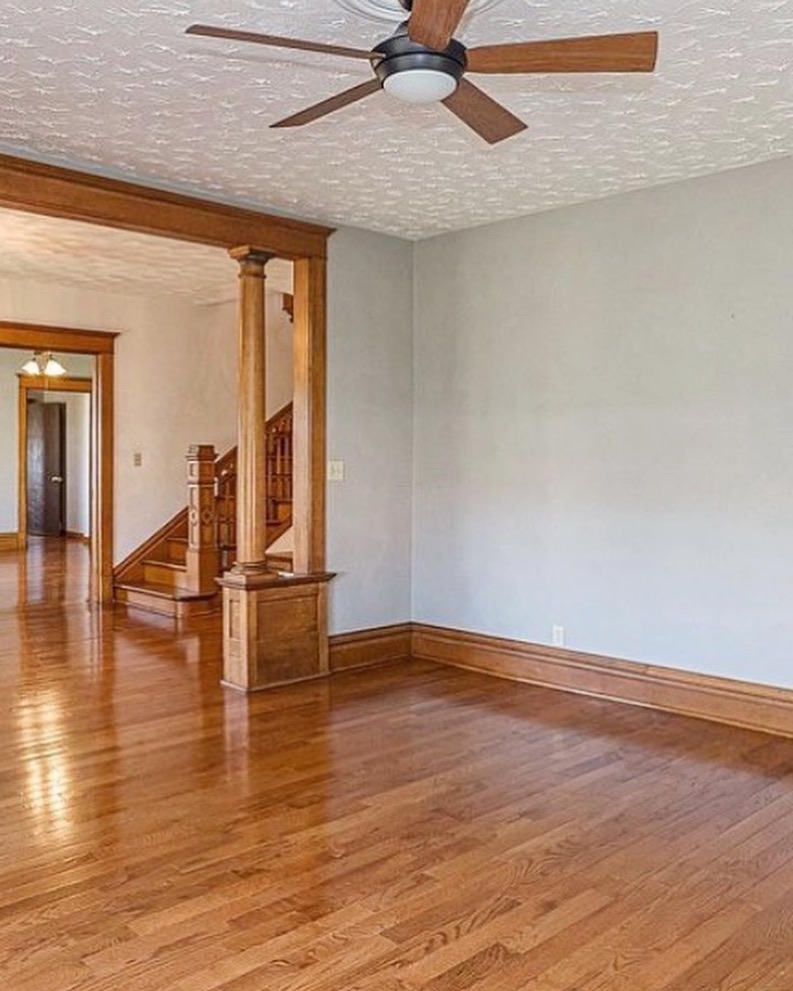
After 2 primes, 1 coat of Snowbound, we would then go around and wood fill all the holes and imperfections. I am not sure what the correct technique is when using wood filler but we would do – fill, wipe with wet one, and then let it dry. Some areas we would sand but for the most part this is the technique we used. We would then go back and paint at least 2 more coats of Snowbound. And then go back and sand and sand more. I really like these ones. The higher grit number is equivalent to a finer abrasive and vice versa.
I would say the biggest challenge with painting the trim white was painting the window trim. The windows had so many dang crevices!
Overall, I am so so happy with how this room turned out!
Let me know if you have any questions. 🙂
")

I love this room too!! So much work went into it!! It is beautiful!! Not sure if it’s my favorite though. I absolutely love, love the kitchen!! All the ideas you have planned for the kitchen and dining room that are still coming will put this house over the top!! You and your hubby’s and families hard work will definitely pay off in the end!! You are one very talented crew!! Your ideas just have your mom thinking “WOW!” Did we watch Chip and Joanna too much? 🤣